 Close
Close

Moodle 4 – Quick tips for updating your course
By Eliot Hoving, on 27 July 2023
Moodle 4.2 and UCL’s new theme introduce a series of changes aimed at improving the user experience of students and staff.
For the most part, content will look and operate the same. However there are some quick steps you can take to update your course and make the most of the changes.
Consider how you can use the course index menu
One of the new features of Moodle 4 is the course index menu, which is the new left-hand menu.
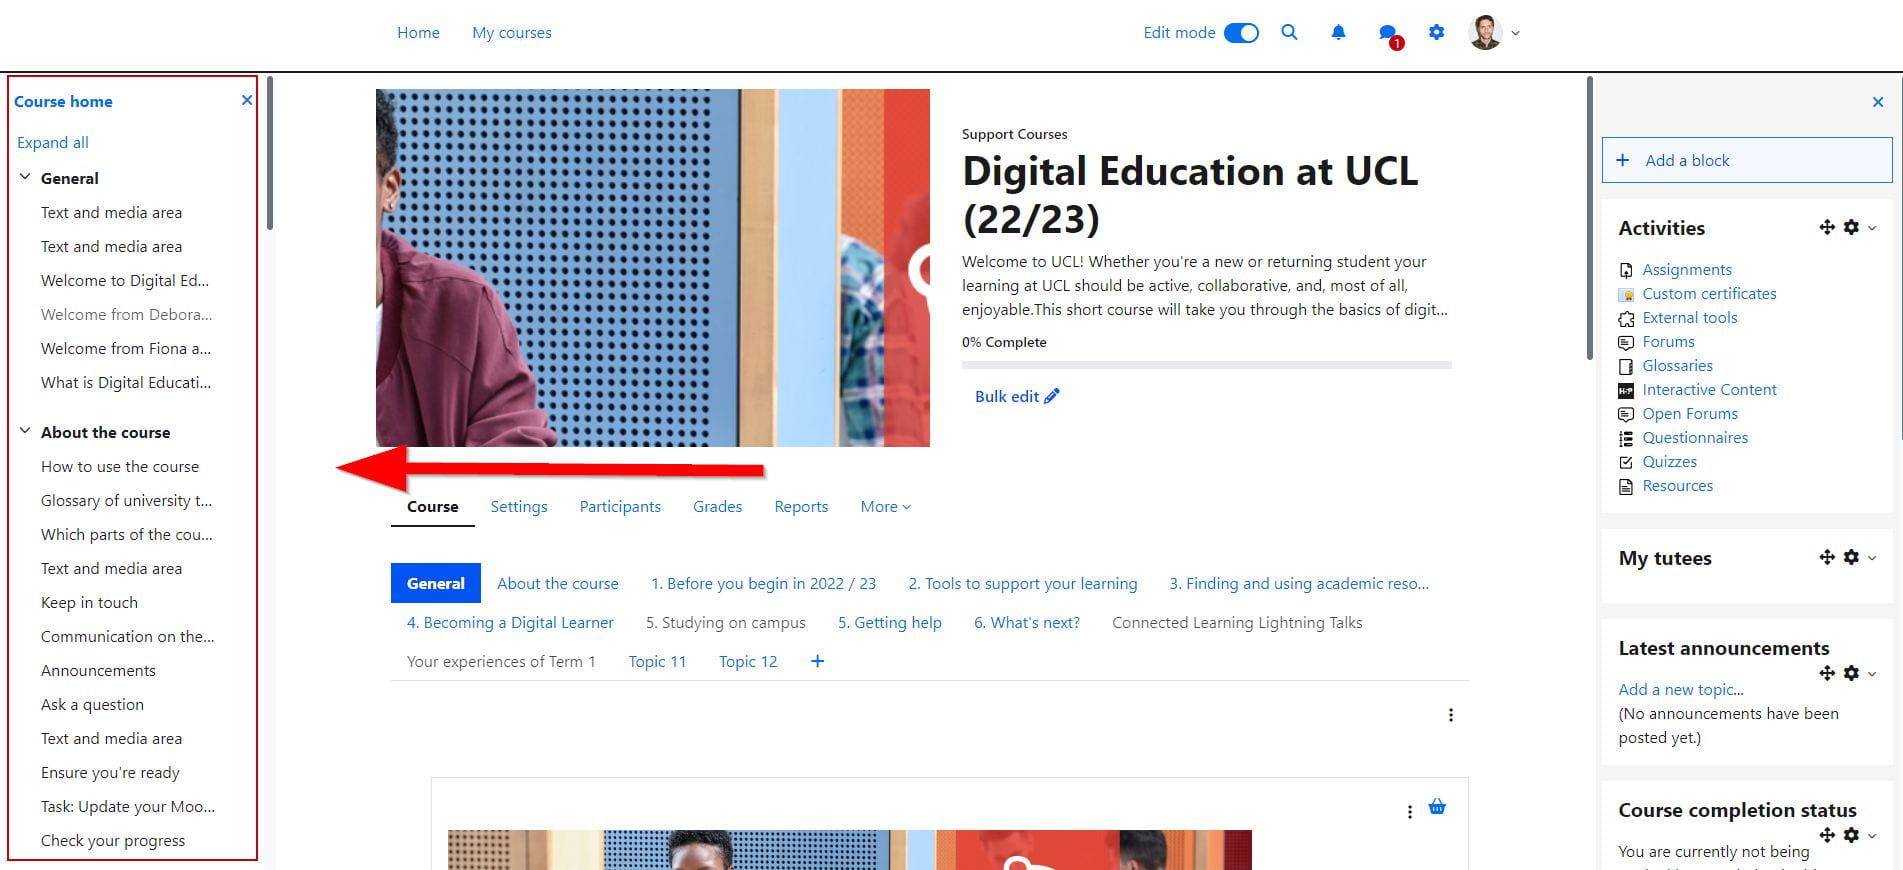
Course index menu
This menu shows a link to all the resources and activities on your course.
It may take some time for UCL to make the most of this new feature. Be aware that students and staff can close the menu, and access a course as they would have done in the past.
I’d recommend viewing the course index menu, in its current state, much like an index of a book. It allows you to quickly look something up when you need to, but when your reading you don’t have to go back to the index to get to the next chapter, you simply keep reading. In the Moodle context, students and staff can use the course index menu to quickly find content they want when they need to, but when going through a course they can equally just view the content on the main center page and navigate to the next content item or section from within the main center page.
If we think of the course index menu like a book index, some of its quirks start to make more sense:
- The text is truncated so long section or activity headings won’t show in full. It’s best then that the text starts with the most important information, so it allows students to identify or recall what the content is. Numbering content can improve the readability of the index too.

- If you used a Label or “Text and Media area” as they are now called to create a horizontal line or add an image, the words “Label” or “Text and Media area” will show in the course index menu. You could delete them if they aren’t essential or add some text to them so this text will then show (see caveat below).
- Labels or “Text and Media areas” as they are now called, will also show in the course index menu. All the text in the Label will show, up to point it is truncated. If you want to avoid this, you could move your content from a “Text and Media area” to a Page so that only the Page title shows. UCL developers are investigating whether a seperate title for “Text and Media areas” can be created.
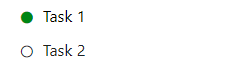
One feature that is particularly nice about the new course index menu is that it shows a green indicator alongside an activity when it has been completed, which allows students to quickly see what content they have done and importantly what they have remaining to do. This functions as a built in course checklist for students.
Set up your course summary and image
In the past, it was common for Moodle courses to include a banner image at the top of their course. In Moodle this was called section 0. Section 0 is now no longer displayed automatically to the student, instead the theme shows the course image at the top of the course. Course images are also shown to the student on their “My courses” page and when a student searches for a course. Whereas in the past you would have to add an image to section 0 and as a course image, now you just need to add it as a course image and it will automatically display at the top of your course.
In the example shown, the course image is showing at the top, and the old banner image under section 0, which has been named “General”. If you have an old banner image, you can remove it by editing the section, or by using the bulk edit tool as described below.
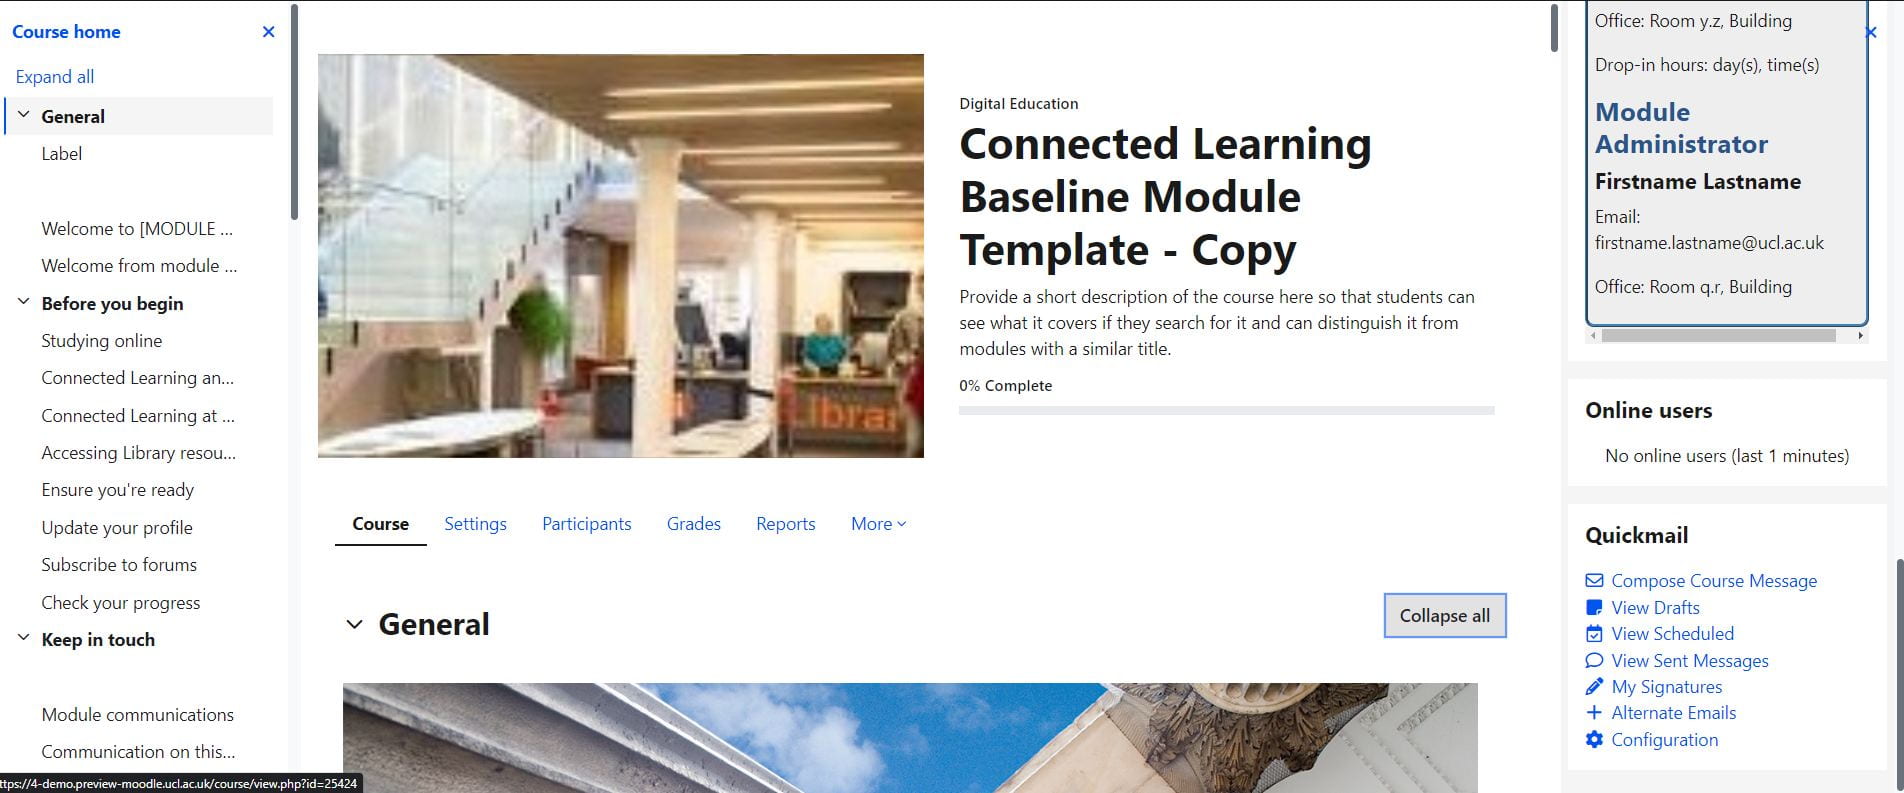
Course summaries will also be shown at the top of the course page. In the past the course summary was not easily visible to staff, so often the template text provided in baseline templates would go unedited and would often be shown to students when searching for their courses.
A completion progress bar and percentage will also show which indicates to the student how many activities they have completed in the course. This will only show when activity completion is enabled on a course.
To add a course summary and image:
- Open your course.
- Click the Settings tab.
- Scroll down to Description.
- Under Course summary, include a brief description of your course. We recommend keeping it brief, think tweet length, 280 characters.
- Under Course image, upload a file (I’d recommend that your image doesn’t include text as it may appear distorted on certain devices, and selecting an image with the size of 550px by 280px. I found my image on UCL’s Imagestore – a free repository of UCL images.)
- Click Save.
Spring clean using the new Bulk edit tool
With the new Moodle theme it’s a good time to delete any old content, or formatting that doesn’t fit so well with the new layout and colour scheme (e.g. old course banner image).
The new Moodle bulk edit tool makes it easier than ever to delete content. It is currently available on the standard “topics” or “collapsed topics” format. For courses in the tab format, you can use the Mass actions block.
Simply:
- With your course open, turn on edit mode.
- Click Bulk edit at the top of your course.
- Select the content you want to delete.
- Click Delete at the bottom of the page.
Check block images aren’t distorted
The Moodle block region to the right of a course is now narrower which may distort some of the images you’ve used in the past.
In previous templates it was common to layout content using a table. This type of formatting is not ideal, as it can lead to inconsistent results based on a user’s device and is harder to read for screen readers.
So I’d recommend removing any table formatting, and laying out content and images vertically, with minimal styling.
Before

After
Onetopic/Tabs format only – fix colour contrast of tabs
Due to the colour changes made in the new Moodle theme, your course tab colours may or may not look readible and meet accessibility colour contrast requirements.
You can change individual course tabs individually, by editing them.
Alternatively, if you want to reset your course tabs to the default colours, you can temporarily change the course format to the “Topics” format under the Settings tab and click save. You can then change the course format back to “Tabs” which is the format “Onetopic” on Moodle.
Note: This will remove all your colours and you won’t be able to get them back.
Before

After

If you have any difficulty updating your Moodle course, please get in touch with your Faculty Learning Technology Lead.
If you notice any issues or errors, please report them to itservices@ucl.ac.uk so the relevant team can investigate.