 Close
Close

Self-isolation activity: make an animation from your bedroom part 2
By Caroline Francis, on 29 July 2020
This post is the second home animation activity created by Taylor Jack Smith, UCL alumni of the Slade School of Fine Art. In this blog Taylor discusses how to make a 3D animation using a smart phone and materials around your house.
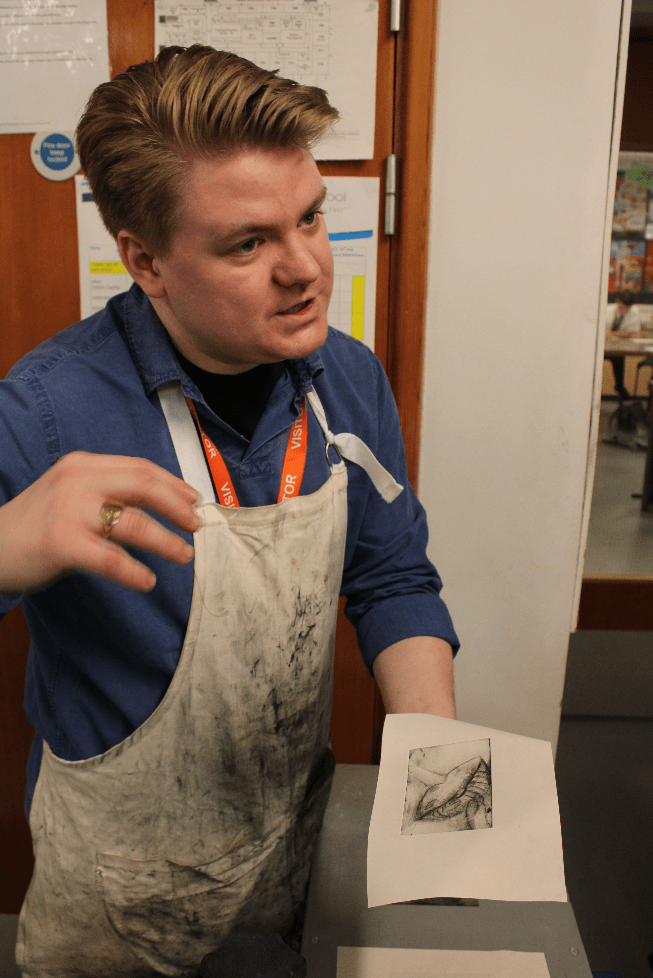
Taylor providing students feedback on a test print during an outreach workshop.
As a follow-up to my previous blog suggesting ways of creating your own animations at home, I’d like to think about ways in which we can expand from 2D into 3D animation methods. Please do keep sending in any animations you’ve created at home! They all look fantastic and are displaying really imaginative ways of making animation. Like last time, I will be using a free to download stop motion app to create these animations. The app is really easy to use and is just like taking photos on your phone, but if you are having trouble please see my last blog, which takes you through the process step by step.

Stop Motion Studio is an app that allows you to create an animation on your phone.
Last time I detailed ways in which you could make 2D animations using frame by frame drawing. The technique I am showing you today is one of the earlier forms of animation and is also one of the most predominant, with studios like Disney and Ghibli being the most famous examples. Before the rise of CGI and 3-D digital animation, stop motion and Claymation was the prominent method of creating 3-D animations.
Characters like Wallace and Gromit and Morph are some of the more famous examples of Claymation. The technique is an easy and inexpensive way of creating 3-D animations, it is also less labour intensive in many ways than drawn 2D animation as it does not require re-drawing or re-making your characters or scenes. Once you’ve made your character, you’re ready to start animating!

Morph is a series of clay stop-motion comedy animations, named after the main character.
For the purpose of this demonstration I’m going to be making a bust (head and shoulders) of a character. However, you can make whatever you like, human, animal or something from your own imagination.
I am actually using bake in the oven modelling clay for this demonstration which, to be honest, probably isn’t the most suitable for the job but is the only thing I have to hand. Regular plasticine would work better, as it’s strong as well as pliable, and also comes in a better range of colours. Just remember if you want it to stand up by itself you will want to make sure that the proportions are such that it can support its own weight. What I mean by this, for example, is that thin legs and a large head or body will just cause your model to fall over.
Another way that you can ensure more support is to use an armature. An armature is a framework which has the same function as a skeleton. Professional stop motion animators will use puppet-like armatures and different mediums to create their models.
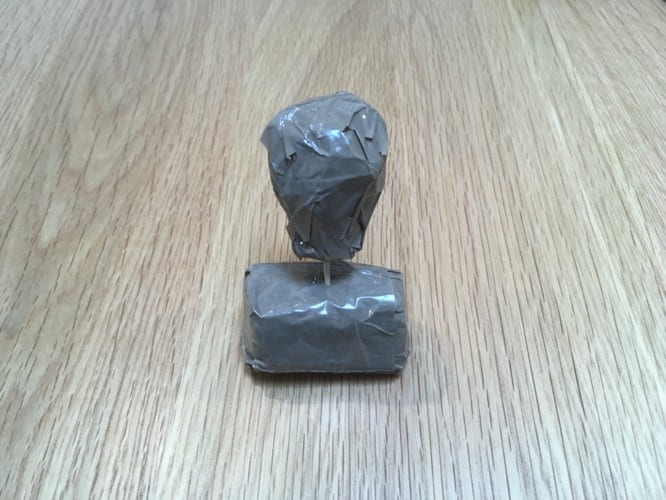
Taylor’s homemade armature which is used as a framework for his clay model.

It is made from cellotape and a cocktail stick found at home.
But for the purpose of this activity use things that you have readily available. This style of plasticine Claymation is only one of the possibilities. You can create your character animation anyway you like.
You could use cut-out or folded paper, tinfoil, Lego, or even household objects. Early animators would use stop frame techniques to make objects move around the room, bringing inanimate objects to life.
British video artist Osbert Parker uses old clothes arranged on the floor to create his stop motion animations.
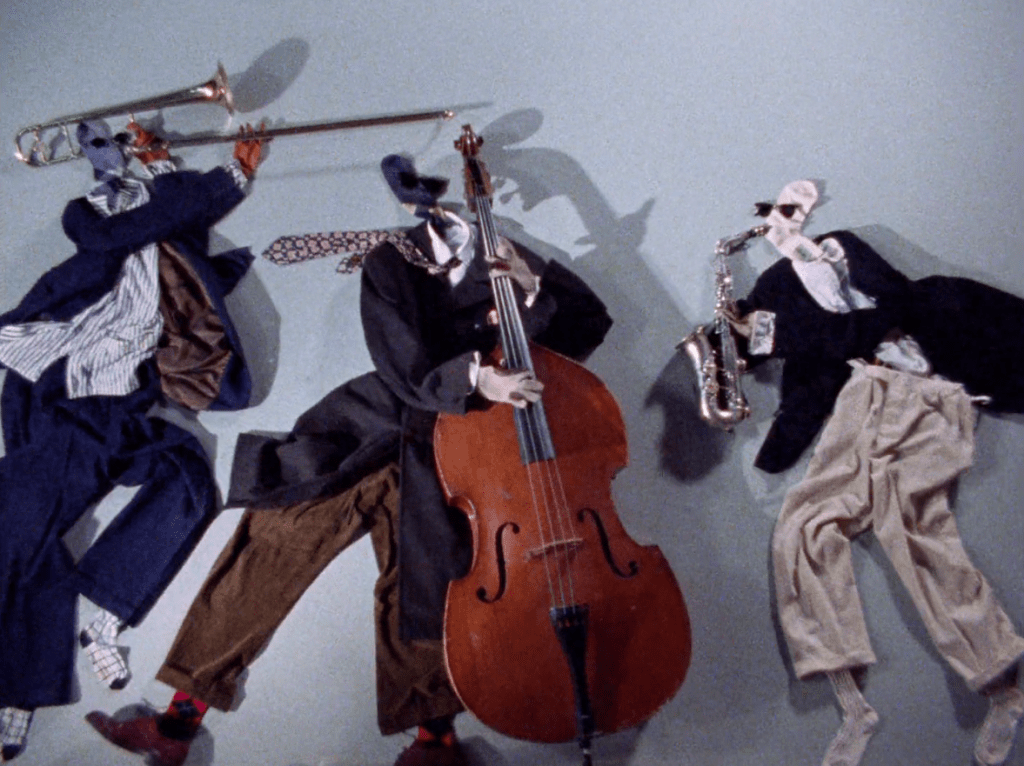
Still from Osbert Parker CLOTHES (1988)
You can watch an extract from Osbert Parker’s CLOTHES on vimeo.
In my case I’m using tinfoil wrapped in Sellotape, with the addition of a toothpick to give the model a rotatable head. This will give support to the model as well as help maintain its shape. Once you’ve created your armature, overlayer your plasticine on top and then begin modelling adding as much or as little detail as you’d like. It can be as simple or as detailed as you like.
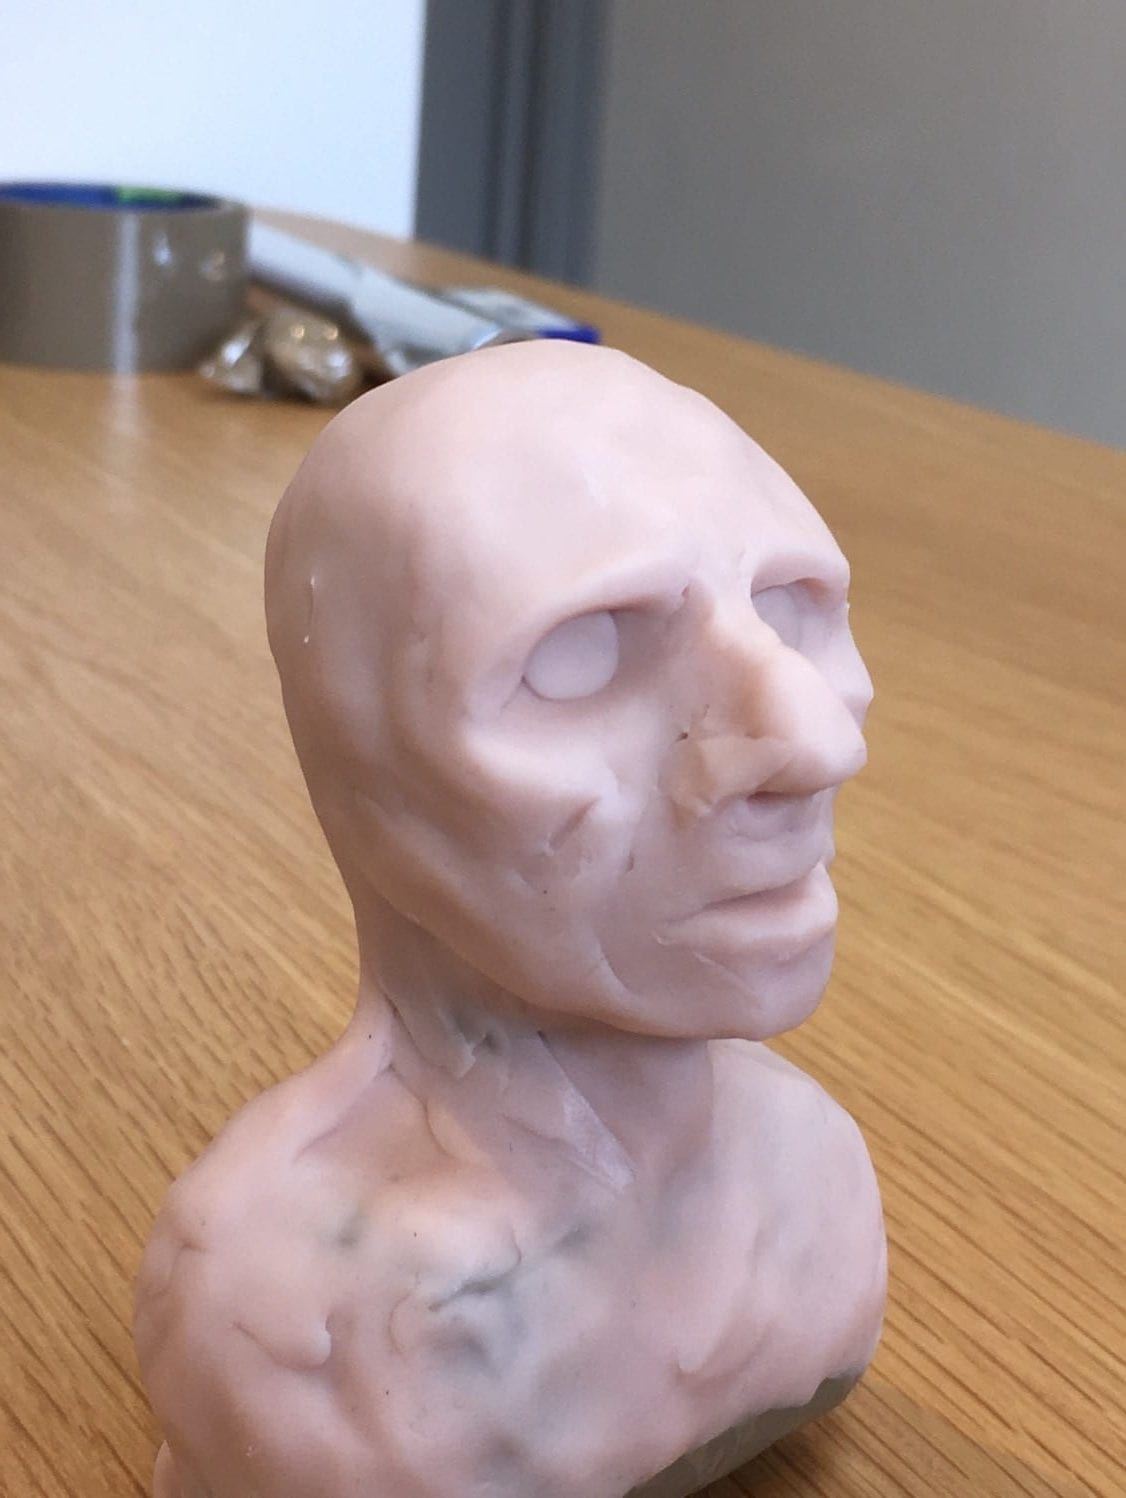
Taylor’s bust made from Plasticine.
When you’re happy with your model, it may be an idea to create a small scene or an environment for them to exist in. Whether this is inside a house, a painted landscape, an imaginary world or the real world, on table tops and window sills. For my demonstration I’ve used a ring bound sketch pad to create the impression of a dark interior space.
Something that you might also find interesting is experimenting with lighting. Just like Live-action cinema, lighting can be used in all sorts of ways to create interesting scenes within stop motion animation. This can be achieved by either using natural light or lamps and torches. If using electric light, just ensure that you are doing so safely.
One last important thing to mention, is to try and keep whatever device you are recording on as still as you can. In my case I used left over plasticine to prop up my phone.

Taylor uses lamps to create lighting effects in the scene.
Once you’ve finished working on your animated video, the app has an inbuilt recorder so that you can add your own sound. Think about what kind of sound is applicable to the animation that you’ve made and whether or not you want it to directly illustrate what’s going on. For example, you could add your own narration or voice over to help tell the story or add your own dialogue to the characters. You could also think about using Foley sound. Foley sound is a technique still used in film and television to create sound effects for from ordinary things. The classic example being coconut halves and a watering can, to create the sound of horses galloping in the rain. For this demonstration I’ve used household sounds, such as a kettle boiling and a washing machine in the background to create a more atmospheric feel within the animation. But just as before with the filming, be as imaginative as you like with the sound!

You can also record sound easily on the Stop Motion Studio app.
To record the sounds directly onto your animation, simply click on the microphone icon on the left-hand side of your recording screen. It will then give you the option to record sound after a countdown from three, which you can also play back by hitting the play button. Once you’re happy with it click the tick box on the right-hand side and you’re ready to export.
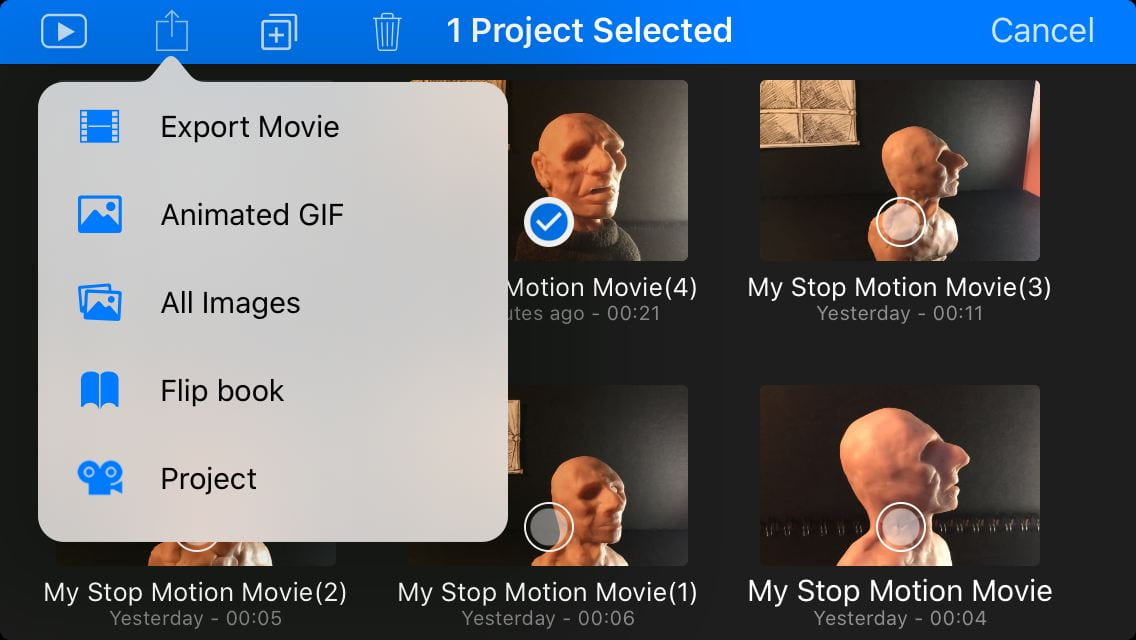
Once you’re happy with your animated sequence, return back to the home screen and then press the select button in the top right-hand corner. Once you’ve done this it will allow you to select the video that you’d like to export.
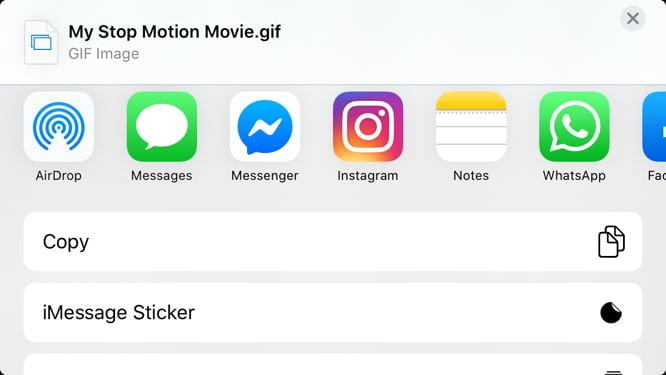
It will give you the option to export it as an animated GIF or video. You can easily send the GIF or short video clip you have created to someone else through the export options or simply save it onto your phone.

Once you’re happy with your final animations, please do keep sending them in to us via email to e.bryant@ucl.ac.uk. If your file is too large for email send your creation via WeTransfer. We can share more of your brilliant films. Can’t wait to see what you’ve created!
You can view Taylor’s work on the Slade School website now.
And find out about the Slade School of Fine Art.
One Response to “Self-isolation activity: make an animation from your bedroom part 2”
- 1

We’ve received one great animation already. Please keep sending them in!