 Close
Close

Conserve It! Part III – Reconstruction
By Nick J Booth, on 24 May 2013
This is the third installment of the Conserve it! blog series, written by a team of UCL conservation students who are working on four damaged objects from the Medical Physics Collection. Here Louise Stewart explains how they have gone about reconstructing the smashed tubes.
Now that our background research is done and we’ve considered the various significances the objects, we come to the most time-consuming step of conservation: the actual treatment! In this case, the main portion of treatment for all four of us is the reconstruction of the glass bulbs of the various x-ray tubes.

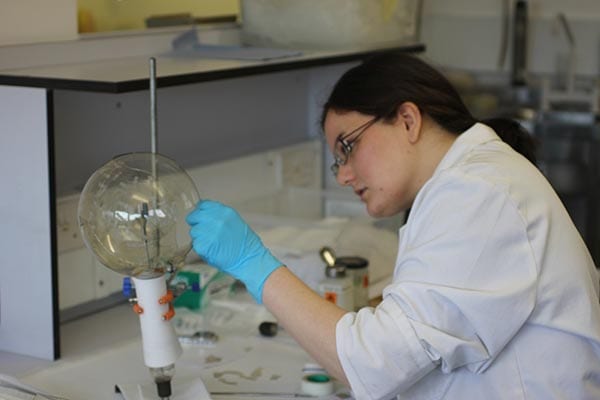
All of us working on reconstruction of the x-ray tubes!
Reconstruction may seem like a daunting task, especially with a glass object in hundreds of fragments. It can be tricky, but in a lot of ways it’s exactly like a puzzle. You look for edges with unique break patterns, for areas of colouring on the glass that match other areas, and for areas where the curvature is the same. We have a general idea of what our x-ray tubes looked like as complete objects, which was also helpful for placing all the fragments.
Some of us had more fragments than others- here’s Leslie working on her x-ray tube, which had a total of 145 pieces.
The first step in reconstructing is to lay out the fragments and establish a starting point. On the x-ray tubes, we each had a base or a more complete piece that we could start with and build on top of. As we started figuring out where the fragments attached, we would use tape to hold them together. Doing this, you end up with a temporary reconstruction of the object.

Leslie’s x-ray tube, mid-temporary reconstruction.
At this point, the conservator must decide if the temporary reconstruction represents the best state of the object- are all the fragments aligned in the right way? Are all of the pieces placed? One thing that we look out for is called “lock out”, where a piece can’t be placed once the object is assembled. But, because the object is only assembled with tape at this stage, if a fragment is ‘locked out’, it’s easy enough to remove some fragments, and re-place them until all of the pieces are included.
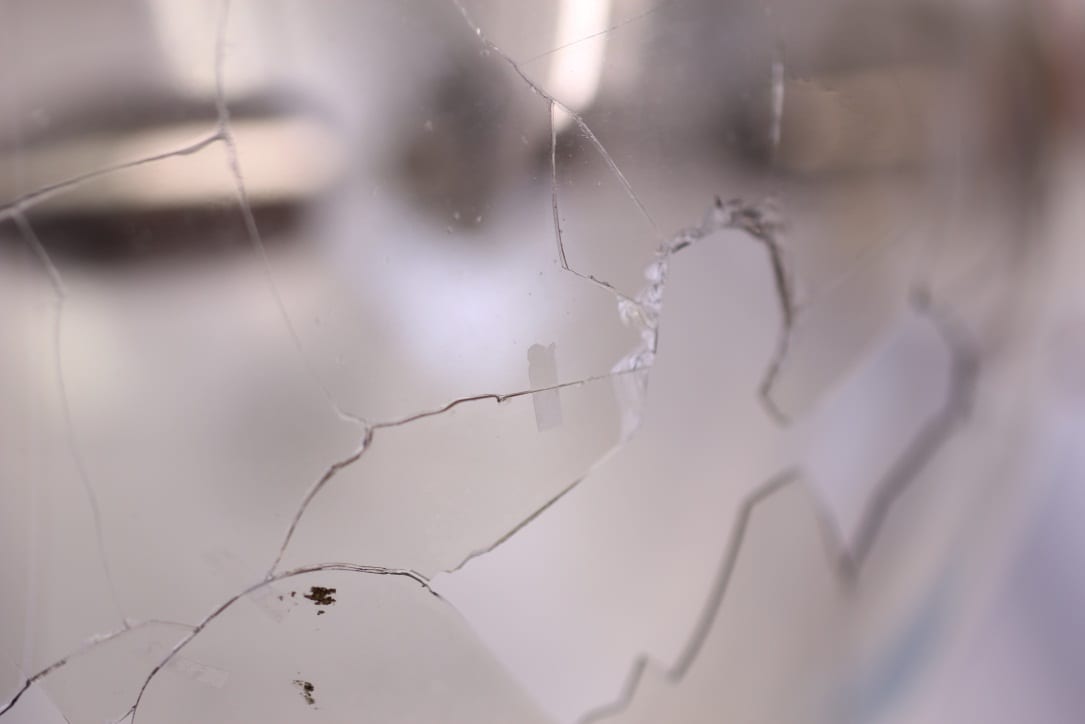
Here you can see an area where ‘lock out’ may occur. You can also see Leslie’s tiny tape sutures, and how well they’re holding some of these fragments together.
Once the temporary reconstruction has all of the fragments placed and in good alignment, we can begin to adhere the pieces together and permanently reconstruct! We typically use an epoxy resin to join the fragments together, because the refractive index is very close to that of glass. What this means is that the epoxy in the joins behaves like glass in such a way that the breaks almost seem to disappear.
The temporary reconstruction that we’ve done with tape comes in handy at this point. Epoxy resin is very fluid, and when we place small dots of it on top of the taped-up joins, capillary action pulls the epoxy in. Epoxy isn’t tacky, so the tape holds the object together while the epoxy cures and hardens.
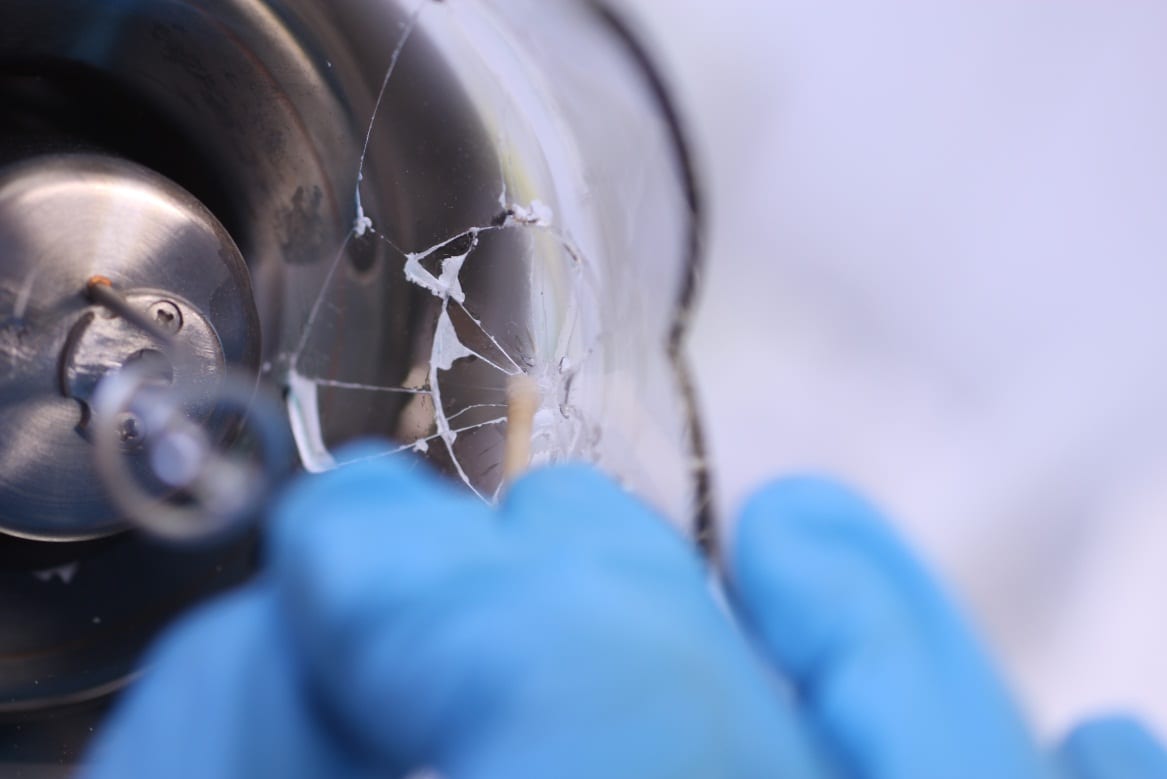
Kate’s removing the excess adhesive from her glass very carefully.
This isn’t always as easy as it sounds. We have to consider the direction that we want the epoxy to flow in, and have gravity work with us rather than against us. This means that sometimes, we have to add the epoxy over the course of several days… or even weeks. Each time we apply the epoxy, we have to wait two days and then remove any excess that didn’t make it into the joins, usually by carefully swabbing with a solvent.
At the end of this process, we will have four reassembled x-ray tubes to go back to the Medical Physics collection! It’s an exciting process, and it’s especially nice to see something that was so broken become one piece again.